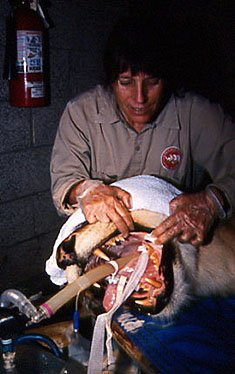
Partial Pulpotomy on a Molar tooth in an African Lion
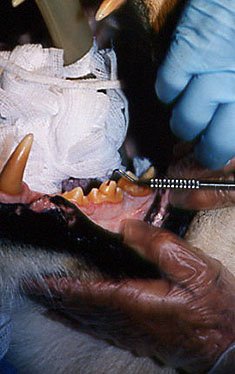
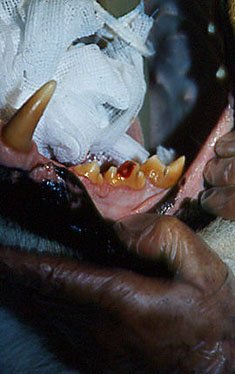
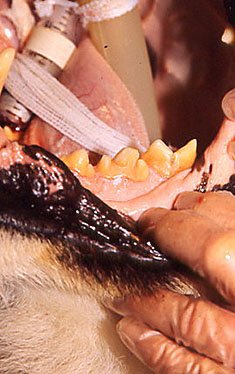
View of the incredibly efficient masticatory apparatus and oral cavity of a female lion. Notice the small blood spot on the mandibular left 4th Pre-Molar.
Close up view of a Class III fracture of the middle cusp of this mandibular left 4th pre-molar. Instrument is a periodontal pocket probe with 3mm markings.
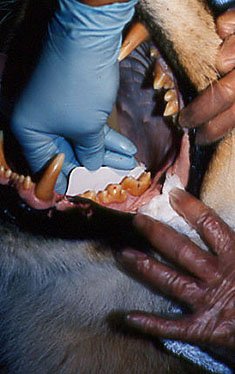
View of proper placement of intra-oral radiograph packet, which can be held in place with an ordinary rubber dental ‘bite-block’.
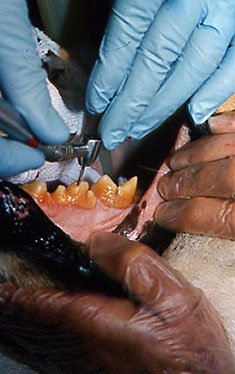
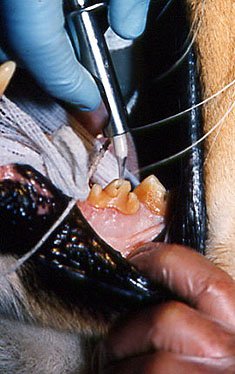
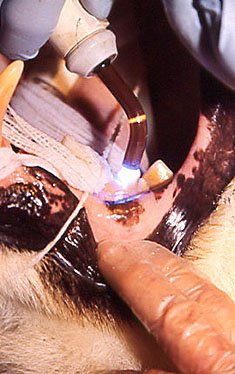
Utilizing a tapered diamond dental bur to open access into coronal portion of pulp canal down to fresh, vital, healthy pulp tissue.
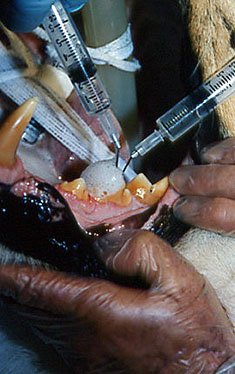
It is normal and very desirable to have copious bleeding from freshly amputated pulp tissue. If this tissue is healthy, the bleeding will stop within a few moments, because of the constriction and clotting of normal healthy blood vessels. This slow down and clotting is a sign that the exposed pulpal tissue has been amputated back to healthy tissue, which has the capacity to heal, and form a secondary dentin bridge.
The interior of the “cavity preparation” is cleaned with solutions of hydrogen peroxide and sodium hypochlorite – injected simultaneously to maximize cleaning effect.
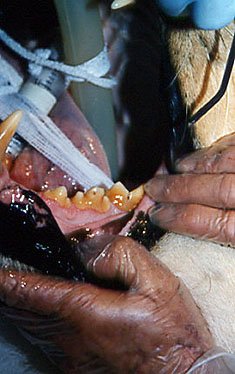
View of clean, dry “cavity preparation” ready for restoration.
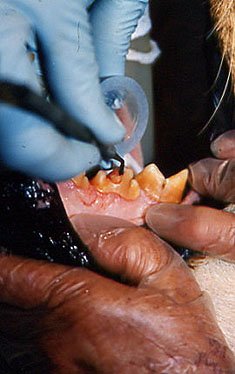
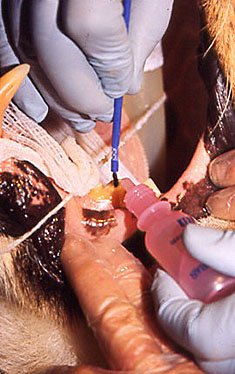
Placing a layer of Bioglass synthetic, particulate grafting material into the “cavity preparation”, and utilizing a sterile plastic packing instrument to condense this hemostatic material gently onto the amputated ‘stump’ of healthy pulp tissue.
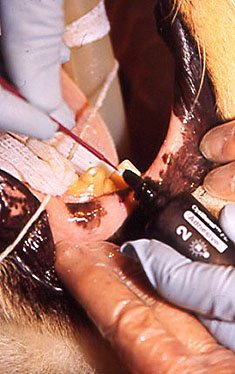
Injecting a second layer of restorative Calcium Hydroxide material over the Bioglass to protect it from the disruptive sequence of restorative materials which follow.
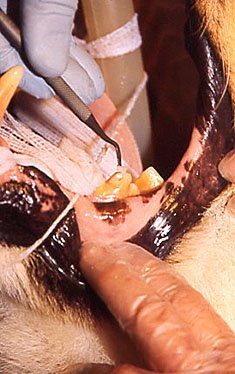
Acid etching of the freshly re-contoured “cavity preparation” to prepare for the composite restorative materials.
Lining / washing the etched “cavity preparation” with dentin bonding material – following manufacturer’s instructions.
Placement of composite resin restorative materia with manufacturer’s recommended ‘non-scratching’ instrument.
Light curing composite restoration to rapidly maximize hardness of material.
Hardened restorative material ready for final functional contouring.
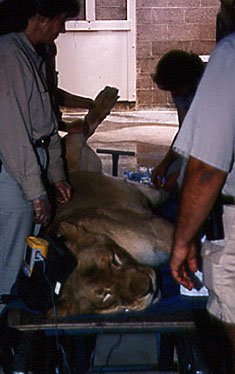
A thoroughly satisfied and contented lioness returning to her pride ready to chew her way thru another day.